
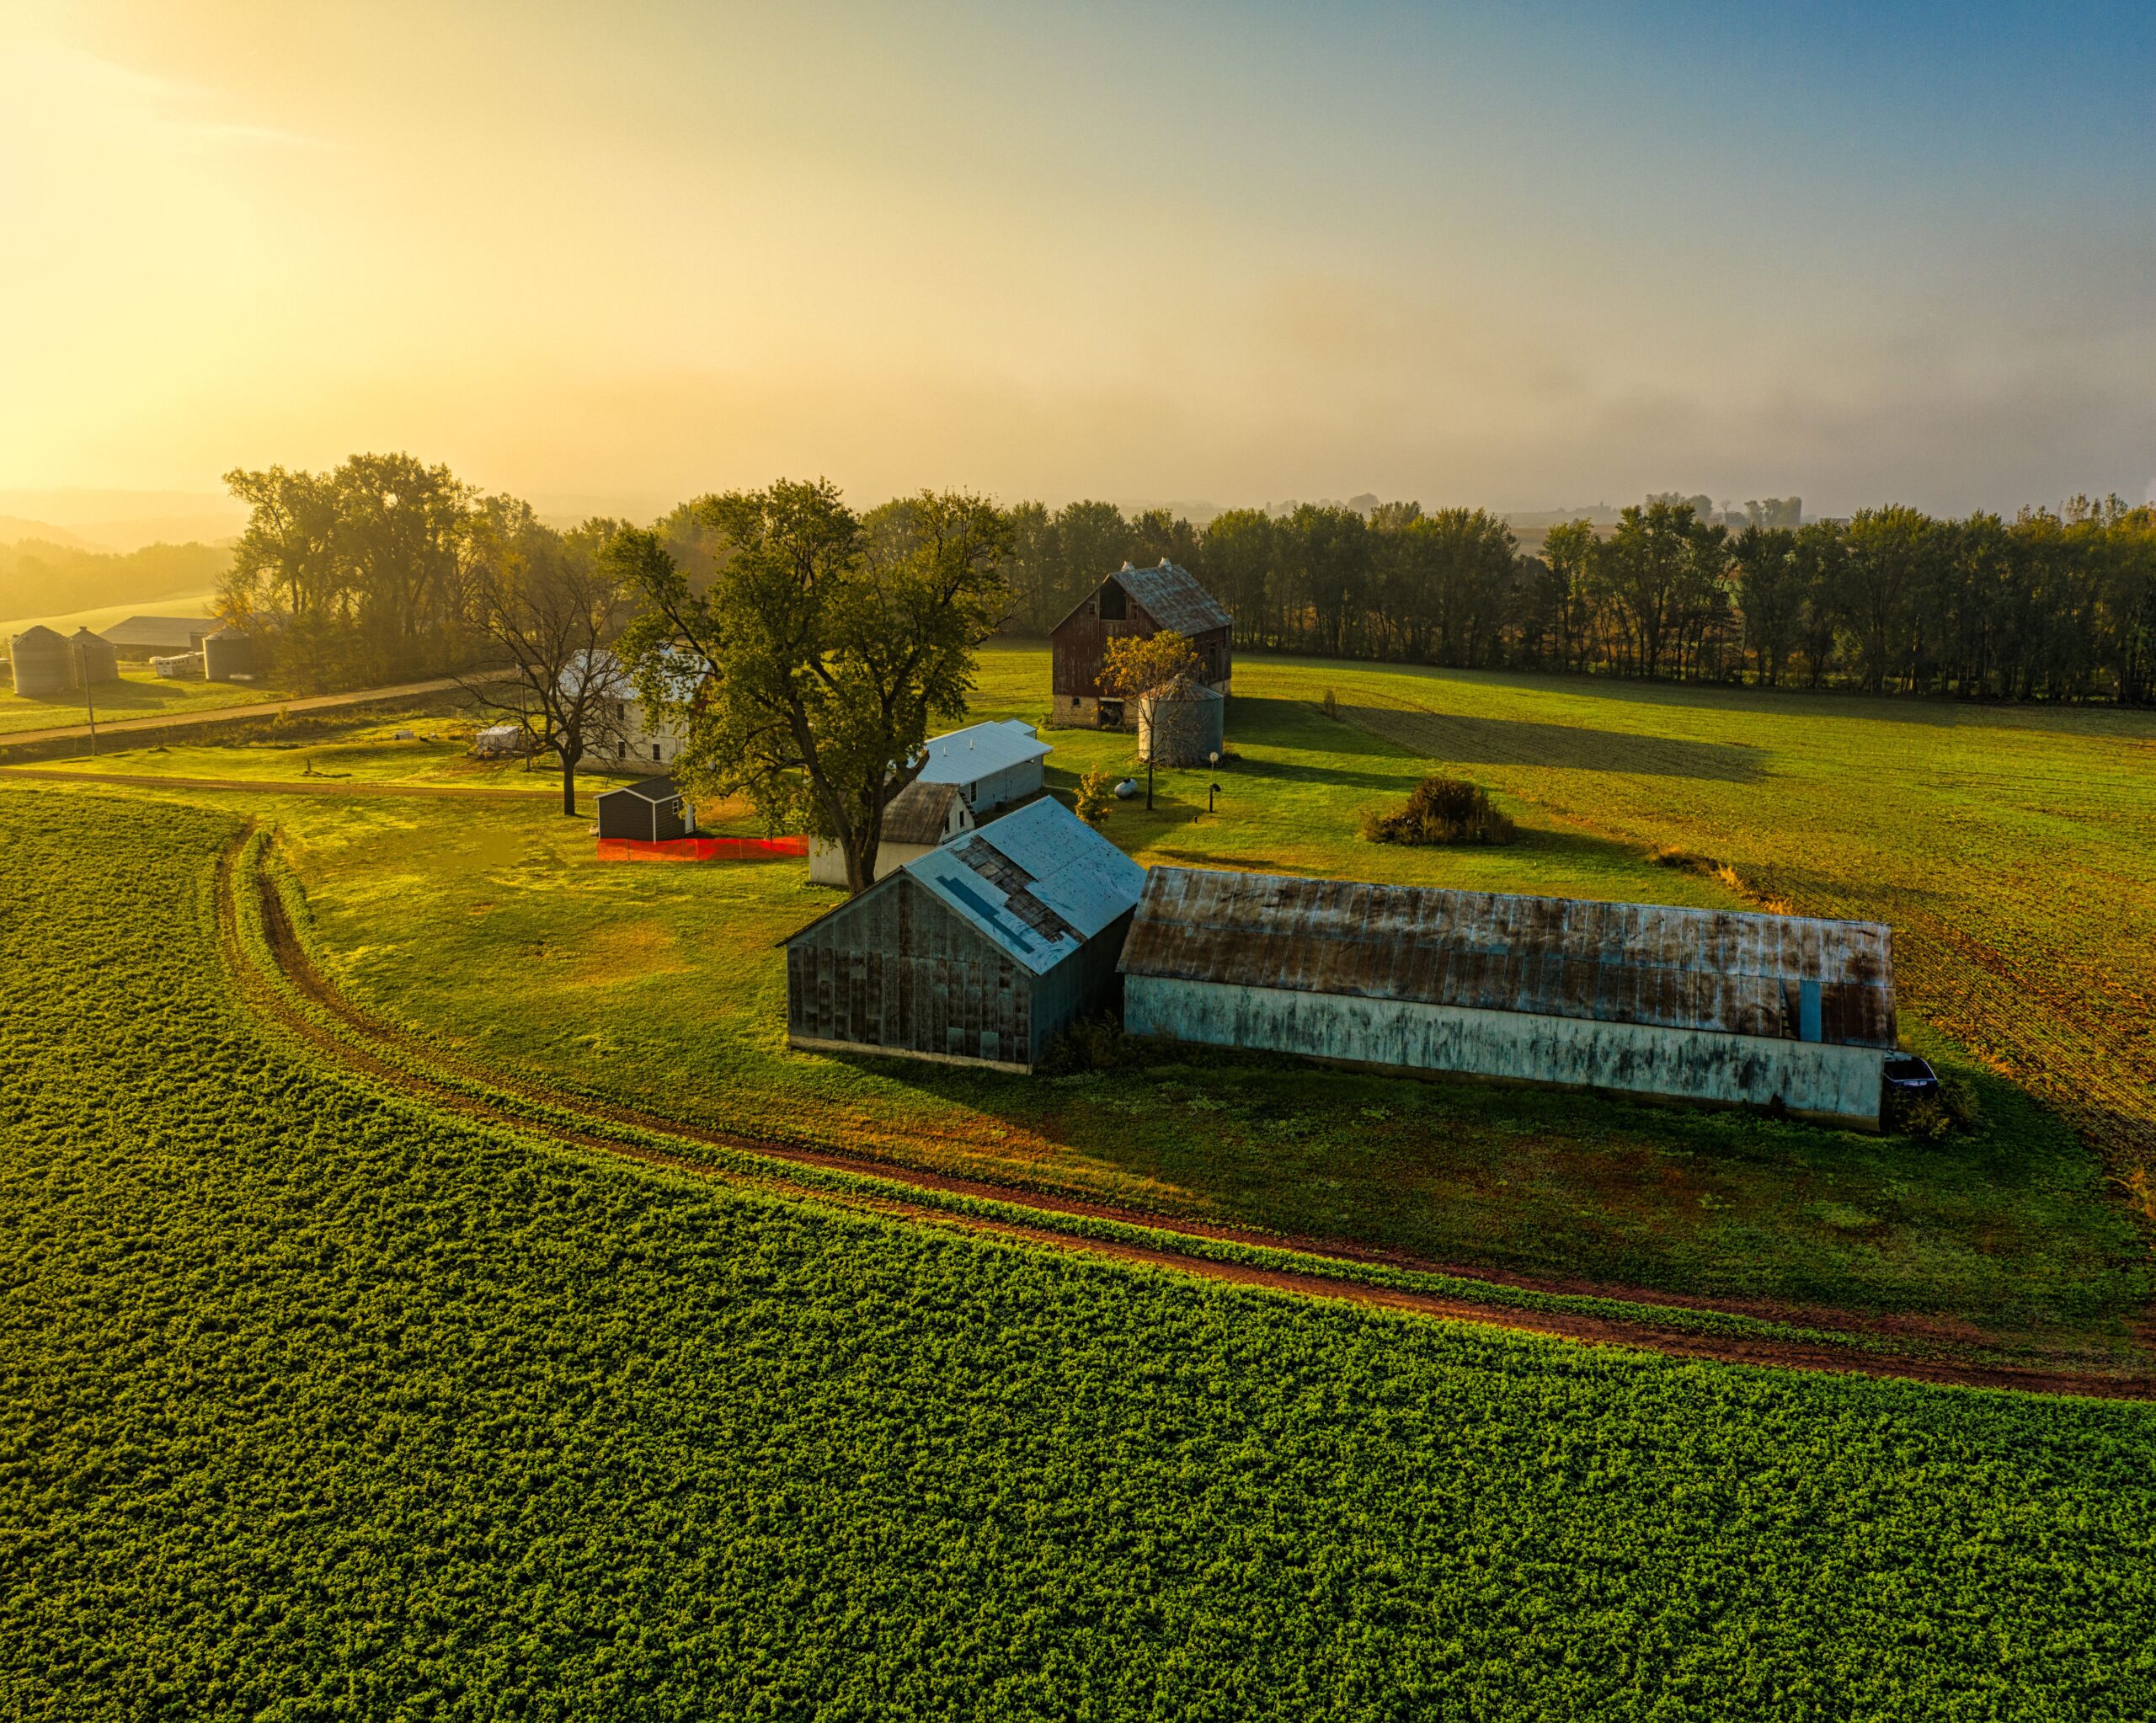
Have you ever dreamed of growing your own food, keeping chickens, preserving your harvest and becoming less dependent on supermarkets?
That’s what homesteading is all about.
The good news is that you don’t need hundreds of acres, expensive equipment or years of experience to get started. You can begin in a suburban backyard, on a small block of land or on a rural property.
The key is to start small, learn practical skills and build on what you already have.
In this guide, you’ll learn how to start a homestead step by step, even if you’re working with a limited budget or have never grown your own food before.

What Is Homesteading?
Homesteading is a lifestyle focused on producing more of what you need yourself. This can include growing vegetables, raising animals, preserving food, making household products and learning traditional skills.
Some people live on large rural properties, while others practise homesteading from an ordinary backyard.
You don’t have to be completely self-sufficient to be a homesteader. Even growing some of your own vegetables, collecting eggs or learning to preserve food is a good place to start.
Experienced homesteaders Josh and Carolyn Thomas of Homesteading Family explain that you can begin developing homesteading skills wherever you live, rather than waiting until you own rural land. Their guide to getting started with homesteading is a useful additional resource.

Step 1: Decide What You Want Your Homestead to Do
Before buying animals, seeds or equipment, decide what you want to achieve.
Trying to do everything at once is one of the easiest ways to become overwhelmed. Instead, choose two or three practical goals for your first year.
For example, you might want to:
- Grow fresh vegetables for your family.
- Raise chickens for eggs.
- Learn how to preserve seasonal produce.
- Start a compost pile to recycle garden waste.
- Plant fruit trees for future harvests.
- Reduce your grocery bill by producing more food at home.
Your goals will help determine how much space, time and money you need.
If you’re starting with a small backyard, growing vegetables and herbs might be the best first step. If you already have a few acres, you might have room to add fruit trees, larger gardens or livestock later.
Start with what you can realistically manage, then expand as your skills improve.

Step 2: Work With the Land You Have
You don’t need to purchase a farm to begin homesteading.
A backyard, rented property or small rural block can provide opportunities to grow food and learn useful skills. The important thing is to understand what your property allows you to do.
Start by looking at your available space.
Ask yourself:
- Which areas receive the most sunlight?
- Where can you access water easily?
- Is the soil suitable for growing food?
- Where could you place a compost bin or garden bed?
- Are there restrictions on keeping chickens or other animals?
If you rent, check with your landlord before making permanent changes or adding animals. If you own the property, check local regulations, planning requirements and any restrictions that apply to your land.
Pay attention to drainage, wind exposure, existing trees and access to water. These factors can influence where a garden or fruit trees will grow successfully.
If you’re planning to buy land, research the property carefully before committing. Water availability, soil conditions, access, zoning and existing infrastructure can make a substantial difference to the cost of establishing a homestead.

Step 3: Start Growing Your Own Food
For most beginners, a small vegetable garden is one of the easiest ways to begin homesteading.
You don’t need a large garden or dozens of different crops. Start with a few vegetables that suit your local climate and that your household actually enjoys eating.
Good beginner options often include lettuce, radishes, leafy greens, beans, zucchini and herbs, although the best choices depend on your growing season.
Here’s how to get started:
- Choose a sunny location. Most common fruiting vegetables need several hours of direct sunlight each day. Check the requirements for the crops you want to grow.
- Check your soil. A soil test can identify pH and nutrient issues and help you decide whether amendments are needed.
- Prepare a small garden bed. Improve the soil where necessary and avoid adding large amounts of fertiliser or compost without understanding what your soil needs.
- Choose suitable seeds or seedlings. Follow local planting calendars and instructions for your climate.
- Water consistently. Pay attention to the needs of your crops and adjust for rainfall, temperature and soil conditions.
- Harvest regularly. Pick produce when it is ready and keep notes on what grows well.
You can plant directly into suitable ground or use raised beds and containers if your space or soil is unsuitable.
Oregon State University’s guide to testing garden soil explains how soil testing can help gardeners make informed decisions about nutrients and soil amendments.
Once you have successfully grown a few crops, you can gradually increase the size of your garden and experiment with additional varieties.

Step 4: Learn to Make Compost
Composting is a practical homesteading skill because it turns many household and garden scraps into a useful soil amendment.
Instead of sending all your vegetable scraps and garden waste to landfill, you can recycle suitable organic materials through a composting system.
To begin, choose a compost bin or designate a suitable area in your yard.
Add a mixture of materials such as:
- Dry leaves and shredded cardboard.
- Vegetable and fruit scraps.
- Small amounts of untreated plant material.
- Grass clippings and other suitable garden waste.
A successful compost pile needs a balance of materials, moisture and air. Avoid making it excessively wet or allowing it to become compacted and poorly aerated.
Turn or mix the pile when appropriate for your chosen composting method, and give the materials time to break down.
Finished compost should look dark and crumbly rather than resemble fresh food scraps.
You can then use suitable finished compost to improve garden soil. However, compost is not a complete fertiliser in every situation, so use soil-test results and crop requirements to guide any additional nutrients.
Oregon State University Extension provides practical information on how to use compost in gardens.

Step 5: Add Chickens or Other Animals When You’re Ready
Raising chickens is a popular homesteading goal because hens can provide eggs while their manure can contribute nutrients to a managed composting system.
However, animals require daily care, suitable housing and ongoing expenses. They should be added when you have the time, space and resources to look after them properly.
Before getting chickens, research:
- Local rules governing backyard poultry.
- Coop size, ventilation and secure outdoor space.
- Protection from predators and extreme weather.
- Suitable feed and constant access to clean water.
- Routine cleaning and health monitoring.
- The cost of feed, bedding and veterinary care.
If you want to raise chicks, you’ll also need appropriate brooding equipment and a reliable heat source.
Start with a manageable flock rather than buying a large number of birds immediately. Learn their daily needs before expanding.
Chickens aren’t the only option. Depending on your property, regulations and experience, you might eventually consider ducks, bees or other suitable livestock.
You don’t need animals to have a homestead, though. A productive garden and a growing collection of practical skills are a perfectly valid beginning.

Step 6: Learn to Preserve Your Harvest
Growing food is only part of the process. Learning how to store and preserve it can help you make better use of seasonal harvests.
Start with simple methods that suit the food you’re growing.
For example:
- Freeze suitable vegetables and fruit.
- Dry herbs for later use.
- Store crops such as onions and potatoes under appropriate conditions.
- Learn how to ferment vegetables safely.
- Make jams and pickles using reliable recipes.
- Explore home canning using tested procedures.
You don’t need to learn every method immediately. Choose one or two that match your harvest and build your skills over time.
Food safety matters. Home canning is not as simple as placing food in a jar and sealing it. The correct method depends on the food’s acidity and other factors.
Use research-tested recipes and follow the specified processing times, temperatures and pressures. Most vegetables and meats require pressure canning, while many high-acid fruits can be processed using an appropriate boiling-water method.
Penn State Extension explains these requirements in its beginner’s guide to home canning.

Step 7: Build Your Homestead Gradually
Once you’ve established a garden and learned a few basic skills, decide what to add next.
You might plant fruit trees, expand your vegetable beds, start saving seeds, build a rainwater collection system where permitted or learn to make more food from scratch.
The best next step is the one that fits your goals, available space and budget.
Keep a simple record of your progress. Write down planting dates, harvests, expenses, problems and what you’d do differently next time.
This helps you identify which projects are genuinely useful rather than spending money on things that look appealing but don’t suit your situation.
It also gives you a practical foundation for planning the next growing season.
Remember that homesteading is a collection of skills that develop over time. You don’t have to master everything in your first year.

How Much Does It Cost to Start a Homestead?
The cost of starting a homestead depends on your location, existing resources and goals.
If you already have access to land, you might begin with a small garden using basic hand tools, seeds and locally available materials. Adding raised beds, irrigation, fencing, animals or larger infrastructure will increase the cost.
Buying rural land is a separate and potentially much larger expense.
To keep costs manageable:
- Start with one or two projects.
- Reuse suitable materials when practical and safe.
- Buy only the tools you need for your current projects.
- Learn basic repairs and maintenance.
- Compare the cost of producing food with the cost of buying it.
- Set aside money for unexpected expenses.
Don’t assume that every homesteading project will save money immediately. Establishment costs, mistakes, maintenance and the value of your time all matter.
Focus first on learning useful skills and producing something worthwhile. Expand when you know what works.
Your First-Year Homesteading Plan
If you’re unsure where to begin, use this simple plan as a starting point.
Months 1–3: Plan and prepare
- Decide on your first homesteading goals.
- Assess your space, sunlight and water access.
- Check local rules and prepare a basic budget.
- Start a small vegetable garden.
Months 4–6: Build useful skills
- Learn how to care for your crops.
- Start composting suitable organic waste.
- Record your results and expenses.
- Research animal care before deciding whether to add livestock.
Months 7–9: Make better use of your harvest
- Try freezing, drying or another suitable preservation method.
- Identify crops that performed well.
- Improve your garden based on what you learned.
- Plan any additional projects carefully.
Months 10–12: Review and expand
- Assess your progress and total costs.
- Plan next season’s garden.
- Consider planting suitable fruit trees or expanding your growing area.
- Choose one new skill to learn during the following year.
Adjust this timeline to your climate and growing seasons. Some crops need to be planted earlier or later depending on where you live.
Final Thoughts
Learning how to start a homestead doesn’t have to be complicated.
Start by growing a little food, learning how to improve your soil and developing skills you can use every year. Add animals, preservation projects and larger systems when you’re ready.
You might eventually want a property with fruit trees, vegetable gardens, chickens and a well-stocked pantry. But you don’t need to wait until you own your dream property to begin working towards that lifestyle.
Start small, learn by doing and build a more self-reliant life one step at a time.
Leave a Reply